Function:

I am a visual artist and woodworker creating functional and character filled furniture and accessories using the many techniques I have accumulated over the years. I received my BFA in 1998 and have since done fine art, finish carpentry, cabinet installation, and faux finishing. I have been doing original furniture design and custom woodwork since 2010.
My goal and purpose is to combine these elements and skills to make functional beautiful furniture that is inviting as well as aesthetically pleasing.

Thursday, June 16, 2011

Tabletop Progress continued...

I let the slab sit all clamped down to the sawhorses for well over a week, nearly two, and injected all the seams with copious amounts of wood glue. There was same twisting and racking as they dried all the way out so now I have to address the glue blobs on the end. I decided the easiest and quickest way would be to square up and trim at least a quarter inch off each end. 

Then I resand with 150 grit to make sure the grain in the top is open and not sealed with glue.

Then I bring it back inside and hit it with a coat of whitewash.

After that is dry I hit it with a second coat. Meow I will let this dry overnight and the next step is a coat of polyurethane to lock the whitewash in so I can do my dark glazing over it, and then wipe it back so it only stays in the low spots.
 

Monday, June 6, 2011

Live edge red cedar legs for fir slab

Starting off with these two pieces of red cedar I saved from the river, they were originally one piece that cracked in half.

I'm going to split each piece in half to get two 15" coffee table legs for the fir slab. 

Set up a guide which will work for most of my lengthwise cuts.

This is the other piece.

After establishing my lengthwise cuts I plane the surfaces flat so I have a nice flat surface for the saw to sit on.

After planing and sanding we're looking pretty good.

Using the planed surface to establish square, I cut the lengths to 15", the slab is 2" so that will give me an even 17".

The grain looks awesome in these side cuts.

Sanded all the outward facing surfaces so the urethane will pick up on all the crazy color in these surfaces.


This is one side with a coat of sealer.

This is the other set.

Sunday, June 5, 2011

Tabletop Progress continued


Started today off with a nice long hike along the river.

Knowing full well the punishment that waits for me at home. After running this hand planer for two or three hours I finally started to see some progress.


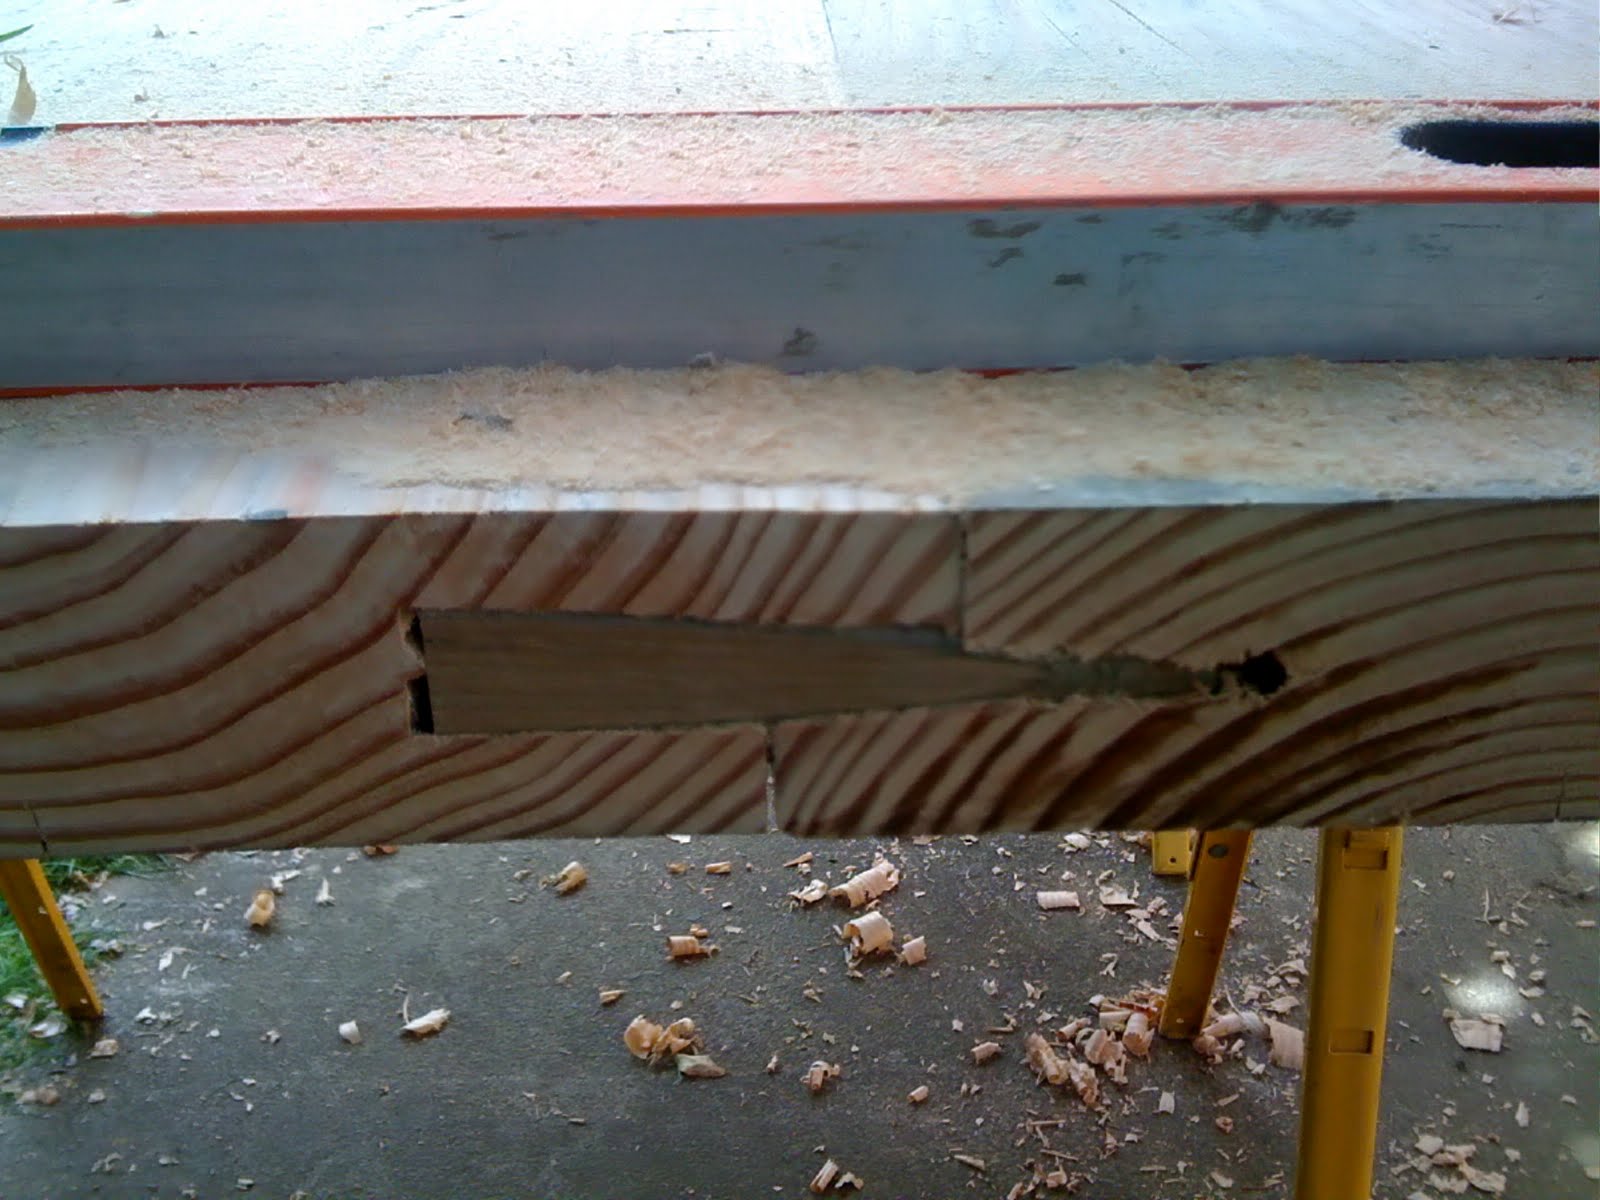
Once I got the top fairly flat I decide to trim the ends up square so I'm not wasting my muscle power on stuff that doesn't count. Using a level as my straight edge, I clamp it in place to function as the guide for my cut.

Then do the same thing to the other side.
 

Happy accident, the cut goes through one of my dowel rods on one end.

Still have a crown in my center piece so back into the fray with the hand planer. If I wasn't running a shoestring budget on this project, I would just take it to Creative woodworking and pay the 100 bucks to have it run through the slab sander. As it stands,I can't put any money into it, just my back.

 
Looking pretty good after sanding, I'm intentionally leaving some of the weathered gray tones in the two outside pieces. I'm going to do a similar treatment to what I did to the driftwood shelves project.
 Talked my neighbor Ben into helping me move it inside, it wants to stay clamped to the sawhorses in order to stay flat. He's also a carpenter and so is sympathetic to my aims. I'm gonna walk away from this for a few days and let it sit.

Saturday, June 4, 2011

Live edge wine rack, walnut. $95.00


Final Slab fitting

The first two pieces stayed flat overnight, yay! Went to ze hardvare store zis morning, got glue and an old school block planer to use on this once everything is set up.

Starting to crank down the clamps and getting a bit of twist, time to reinstall the horizontal clamps to keep it flat.

Lots of creaking and squawking going on as I tighten these babies up.

Finally together. gonna leave all the clamps in place til tomorrow.

Friday, June 3, 2011

Tabletop Progress

So the planks have been drying in my living room, decided today to start putting them together. I've never done this before so I knew going in there would be a learning curve. I started off with drilling the holes for the dowel rods.

Next I ran them through the table saw to create a ship lap joint.

The center piece has two joints, 

the outside pieces have one and a raw edge.

Gluing in the dowel rods to the center piece.

Mounted the center to one of the outside pieces, then ran out of glue. Getting to be late afternoon by now anyway, set up some clamps to keep it flat overnight. I'll run to the glue store in the morning and do the other side. Time for a beer!

Wednesday, June 1, 2011

Petite variation on the live edge bike rack shelf. Sold.

The top live edge piece is really unique, so we're thinking this will not be a prototype, but a one off rather.